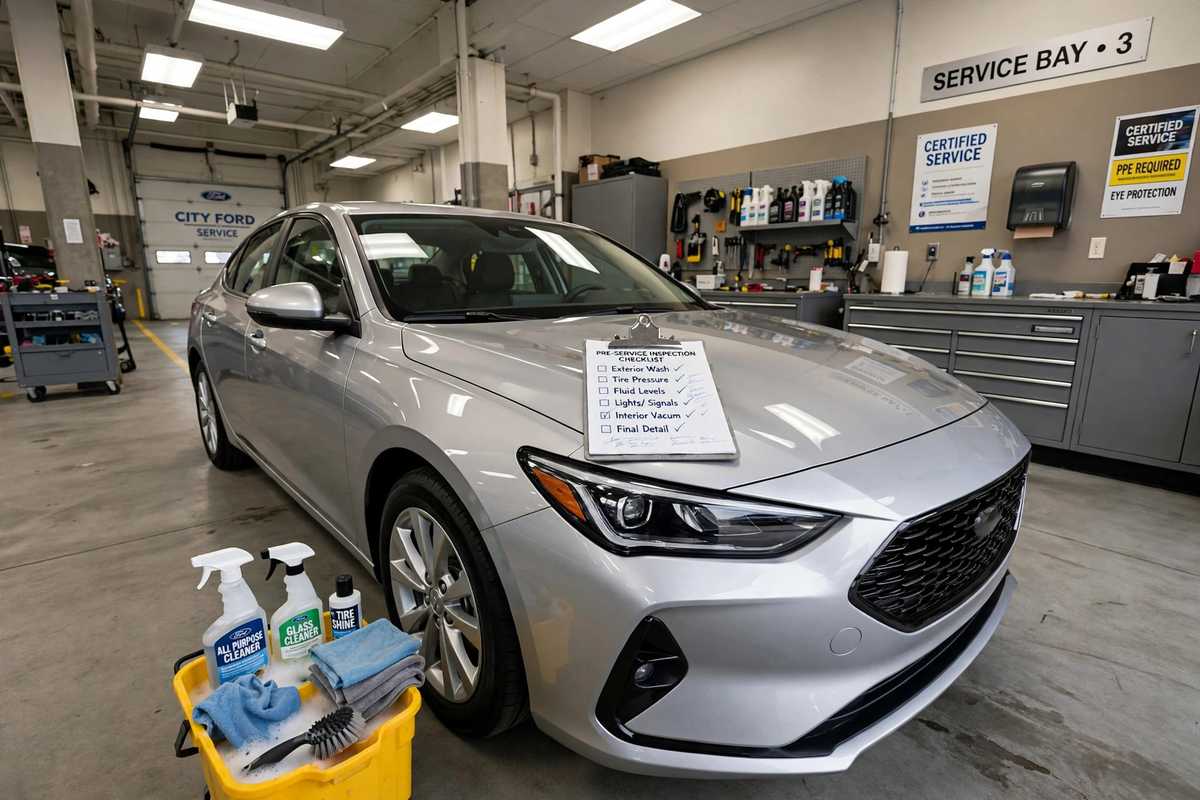
The lease end inspection is the moment your leasing company decides how much of your security deposit, if any, comes back to you and how large your final bill will be. An inspector walks around your car, checks it inside and out, and records every flaw that goes beyond normal wear. The whole process usually takes 30 to 60 minutes, and the report it produces drives every charge you will see afterward.
Most lessees go into the inspection blind, which is a mistake. Knowing what inspectors check, in what order, and what they tend to forgive lets you fix the cheap problems in advance and walk in with realistic expectations. Here is exactly how a lease end inspection works and what the inspector is looking for at every step.
When and Where the Inspection Happens
Most leasing companies schedule the inspection in the final weeks of the lease, either at a dealership, at your home or office through a mobile inspector, or at a dedicated inspection center. You can usually choose the location when you book. A home inspection is convenient, but make sure the car is clean and parked in good light with room to walk around it.
Many leasing companies also offer a free pre inspection a month or two before the lease ends. Take it. The pre inspection uses the same checklist as the final one, and it gives you a written list of what would be charged so you can fix items on your own terms. Skipping the pre inspection means the first time you see the damage list is on the final bill.
The Exterior Walk Around
The inspector starts outside and works around the car panel by panel. This is the longest part of the inspection and the source of most charges.
Body Panels and Paint
Every panel gets checked for dents, scratches, and paint damage. The inspector looks at the car from several angles and in raking light, which reveals flaws you would never notice in your driveway. They measure dents and scratches against the wear standard, and anything past the line gets photographed and recorded. Learning what counts as excess wear and tear before the visit helps you predict which marks will be written up.
Bumpers get extra attention because they collect scuffs from parking. Light scuffs that polish out are usually fine, but scrapes through the paint, cracked bumper covers, and misaligned panels from a minor bump are all chargeable. Check the lower edges of the bumpers and rocker panels, where scrapes from steep driveways hide.
Wheels and Tires
Each wheel is checked for curb rash, cracks, and bends. Light scuffing on the rim edge often passes, but gouges and cracks do not. The inspector measures tire tread depth with a gauge, checks that all four tires match in brand, size, and speed rating, and looks for sidewall damage, plugs, and uneven wear. Tires below the minimum tread depth are one of the most common write ups in the entire inspection.
Glass, Lights, and Mirrors
The windshield is checked for chips and cracks, and every other window is inspected too. Headlights, taillights, and turn signals are checked for cracks and proper operation. Side mirrors must be intact and adjustable. A cracked fog light lens is easy to overlook and just as easy for the inspector to find.
Interior Inspection Points
After the exterior, the inspector sits in the car and works through the cabin systematically.
Seats and Upholstery
Every seat is checked for stains, tears, burns, and excessive wear. The inspector presses and looks closely at bolsters, which wear fastest from getting in and out. Child seat impressions in the rear cushion are common and usually forgiven if the foam springs back, but cracked leather and permanent stains are written up.
Dashboard, Controls, and Electronics
The inspector starts the car and tests the major systems. Windows, locks, mirrors, climate controls, wipers, and the infotainment screen all get exercised. Warning lights on the dashboard are noted, and any that indicate a mechanical problem can lead to further charges. Missing items like the cargo cover, floor mats that came with the car, or the second key are recorded as missing equipment.
Odors get judged here too. If the cabin smells strongly of smoke or pets, the inspector notes it, and odor remediation is one of the priciest line items on a final bill. An ozone treatment before the inspection is far cheaper.
Mileage and Documentation Check
The odometer reading is recorded and compared against your allowance. Overage miles are billed at the per mile rate in your contract, typically 15 to 30 cents, and this charge is separate from wear items. The inspector also verifies the vehicle identification number matches the lease paperwork.
Have your maintenance records ready. While inspectors rarely demand a full service history, being able to show regular oil changes and scheduled maintenance helps if any mechanical question comes up. If you have questions about your allowance, review how annual mileage caps work so you can estimate the overage charge before the report lands.
How the Inspection Report Works
The inspector documents every finding with photos and measurements, then produces a condition report. You should receive a copy, either on the spot or within a few days. Read it carefully while the details are fresh. The report lists each excess wear item, its location, and often a photo, which makes it easy to verify against your own pre inspection photos.
The leasing company then converts the report into a final bill using its standardized charge schedule. This is why two identical scratches can cost different amounts at different leasing companies. The charges reflect retail repair rates, not the cheapest possible fix, which is why fixing items yourself before the inspection almost always saves money.
Common Surprises in Inspection Reports
A few findings catch lessees off guard every time. Aftermarket accessories you installed and forgot about, like a phone mount that left adhesive damage or an aftermarket stereo with cut wiring, get written up as damage. A missing spare tire or jack, often removed years ago and forgotten, shows up as missing equipment. Small windshield chips you stopped noticing months ago are photographed and billed.
Another surprise is how strict the standards feel compared to daily life. A door ding you never gave a second thought becomes a line item. This is normal, and it is exactly why a careful self inspection in good light, weeks before the real one, pays for itself. For a full picture of how these findings turn into dollars, see our guide to car lease wear and tear and end of lease charges.
Preparing for a Smooth Inspection
Book the inspection for daylight hours and wash the car the day before, inside and out. A clean car does not hide damage from a trained inspector, but it does make the process faster and ensures nothing gets misread. Dirt can make a minor scuff look worse than it is, and a dirty interior makes every stain look permanent.
Do your own walk around first with a critical eye and a phone camera. Fix what is cheap to fix, get quotes on the rest, and decide whether a wear waiver makes sense. Show up with both keys, all manuals, and any accessories that came with the car. An organized turn in signals a careful owner, and while the checklist is the checklist, a smooth inspection is always better than a contentious one.