Returning a leased car is a lot like moving out of an apartment. The cleaner and more complete you leave it, the more of your money comes back to you. Every scratch you fix yourself, every stain you remove, and every missing item you replace is a line item that never makes it onto your final bill, and the leasing company charges retail rates for everything it has to handle.
The trick is knowing which fixes are worth your money and which are not. Some repairs cost you 40 dollars at an independent shop and save you 300 dollars in lease charges. Others cost more to fix than the leasing company would ever bill. This checklist walks through the smart pre turn in fixes in the order that matters most, so you spend money only where it actually saves you money.
Start With a Deep Clean
Before you fix anything, wash the car properly and detail the interior. This is not about vanity. Dirt hides damage during your own assessment and can make minor flaws look worse to the inspector. A clean car also lets you see exactly what you are dealing with.
Wash and wax the exterior, clean the wheels and wheel wells, and vacuum and wipe down the entire interior, including the trunk. Shampoo the carpets and seats, clean the glass inside and out, and treat any odors. A professional detail runs 150 to 300 dollars and is the single best investment you can make before turn in. Many stains and smells that look permanent disappear under a detailer’s extractor, and a fresh looking car sets the tone for the whole inspection.
Fix These Exterior Issues
Once the car is clean, walk around it slowly in bright daylight and note every flaw. Then work through them by cost effectiveness.
Scratches and Paint Chips
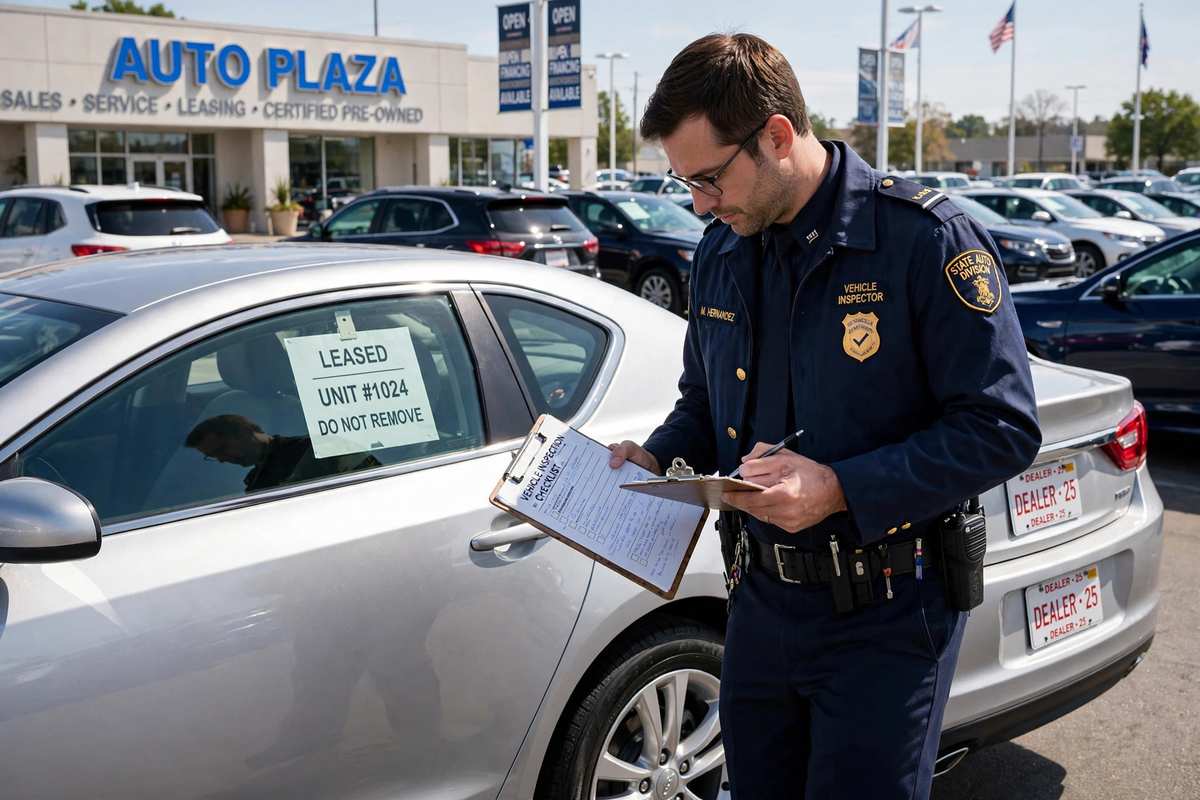
Touch up small paint chips with a factory matched touch up pen, which costs under 20 dollars at the parts counter. For light scratches that have not broken through the clear coat, a rubbing compound and some elbow grease often makes them disappear. Deeper scratches that reach primer or metal need professional help, but a body shop will still charge far less than the leasing company’s standardized rate. Knowing what lease inspectors check on the exterior helps you judge which marks are worth fixing.
Dents
Small dents without paint damage are perfect candidates for paintless dent removal. Mobile technicians fix most minor dents for 75 to 150 dollars per panel, while the leasing company might bill three times that. Get the work done at least a week before the inspection so you can verify the repair looks right in daylight.
Glass and Lights
Repair windshield chips before they spread. Many auto glass shops fix a chip for 60 to 100 dollars, and some insurance policies cover chip repair with no deductible. A cracked windshield should be replaced before turn in, because the leasing company charge includes recalibration of driver assistance cameras on newer cars, which makes their price steep. Replace any cracked light lenses and burnt out bulbs, and check that the third brake light works.
Handle Tires and Wheels
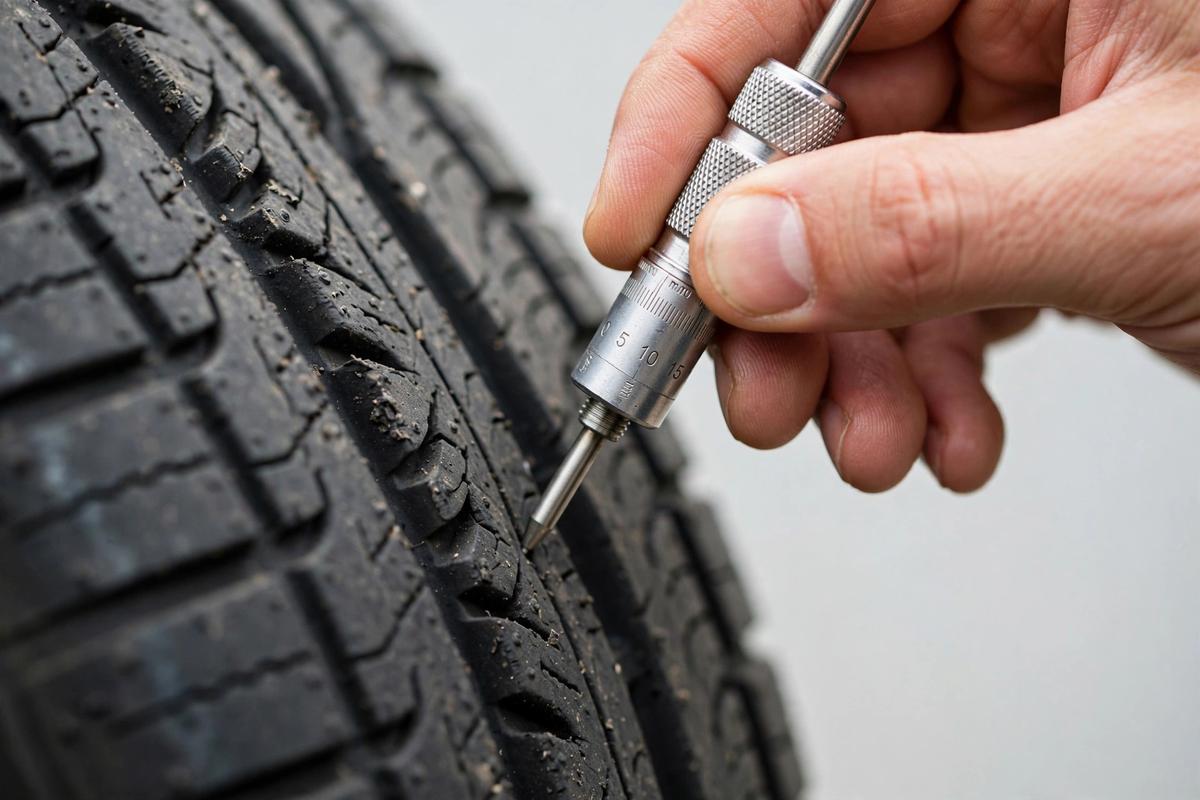
Measure your tread depth with a gauge or the penny test. If any tire is near the minimum, usually 4/32 of an inch, price out replacements. A matching set of budget friendly tires that meet the size and speed rating often costs less than the leasing company’s per tire charge. Make sure all four tires match in brand and model across each axle at minimum.
Address curb rash on alloy wheels. Light scuffs can be improved with a wheel repair kit, and professional wheel refinishing runs 100 to 175 dollars per wheel, which beats most leasing company wheel charges. Check the spare tire, jack, and tools. Replacing a missing spare from a salvage yard is far cheaper than the missing equipment charge. Review the excess wear and tear standards for tires and wheels so you know exactly where the line sits.
Repair the Interior
Start with the seats. Upholstery shops can repair a torn seam or a small tear for a fraction of the leasing company charge, and leather repair kits handle minor scuffs on bolsters. For stains that survived detailing, a replacement seat cover from a salvage yard in matching material is sometimes the cheapest fix.
Test every control and fix the small stuff. Replace dead key fob batteries, reattach loose trim pieces, and replace missing knobs or vent slats. Check that all the floor mats that came with the car are present. If you added aftermarket accessories, remove them and repair any holes or adhesive residue they leave behind. A phone mount, dash cam wiring, or aftermarket speakers all need to come out, and the car should look as close to stock as possible.
Address odors aggressively. If the car smells like smoke or pets, run an ozone treatment or have a detailer do it. Odor remediation charges are among the highest on a final bill, and prevention is dramatically cheaper.
Gather Paperwork and Equipment
Missing items generate some of the most annoying charges because they are so easy to prevent. Collect both sets of keys, every key fob, the owner’s manual packet, and any accessories that came with the car, such as the cargo cover, cargo net, or removable roof panels. Check the glove box, center console, trunk, and under the seats for personal items, and remove everything that is yours.
Locate your maintenance records. You probably will not be asked for them, but having proof of regular oil changes and scheduled service protects you if any mechanical issue is questioned. Make sure the registration and any toll tags or parking passes are removed or transferred.
Know What to Leave Alone
Not every flaw is worth fixing. Very minor wear that falls within normal standards should be left alone, because you would be spending money to fix something that would never have been charged. Get a pre inspection if your leasing company offers one, and use its findings as your fix list. Anything the pre inspection does not flag is probably fine.
Be cautious with cheap DIY repairs that look worse than the original damage. A bad touch up paint job or a poorly done dent repair can draw more attention than the flaw itself. If you are not confident in the repair, get a professional quote and compare it against the likely lease charge. For context on how those charges add up, our guide to car lease wear and tear and end of lease charges breaks down typical costs item by item.
The Week Before Turn In
In the final week, do a last walk around with fresh eyes and your phone camera. Photograph the entire car, inside and out, including the odometer and each wheel. These photos are your evidence if you dispute any charge later. Fill the gas tank to the level your contract requires, usually full, and make sure the car is reasonably clean on the day.
Show up on time with everything gathered, both keys in hand, and the car in the best shape you can reasonably achieve. A well prepared turn in takes 20 minutes and ends the lease on your terms. A neglected one ends with a bill that could have been avoided.